The Nose Contouring Guide For Beginners (Because We All Have To Start Somewhere)
We may receive a commission on purchases made from links.
Humans vary in size, shape, and yes, even in their noses. Whether yours is wide, long, short, bumpy, or lacking any prominence, nose contouring can be an effective way to achieve the look you desire.
Let's face it, feeling beautiful on the outside can draw your inner beauty out. According to Kentucky Counseling Center, when you look good, you feel good, and vice versa. Nose contouring can help you feel more confident and enhance your inner and outer beauty. Now, we aren't talking about major reconstruction (no nose job or fillers required). Nor are we suggesting heavy, caked-on make-up, which oftentimes detracts more than it enhances. Nose contouring can simply tone down any perceived "imperfections" and add some dimension for a more polished look. If you're interested in prioritizing your inner glow, you could even try "underpainting."
While there is no one-size-fits-all approach, there are certainly some guidelines to yield the best results, especially if your aim is to look more natural than harsh. Follow your nose and get the deets here, so you can start contouring with confidence.
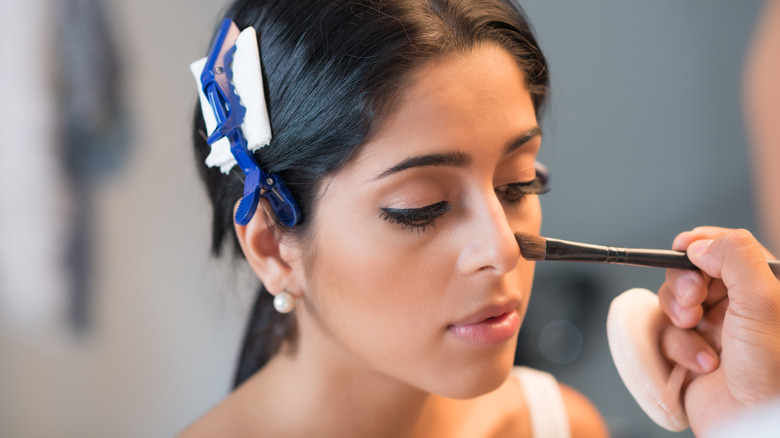
Prime your face first

A painter starts with a clean, smooth canvas. Similarly, that's an idea you should consider for your face. It's best to start with an even canvas to make lines and creases less visible, and contouring much easier. The order you apply your makeup can matter, so prep your skin before applying any products. Cleansing, moisturizing, then adding your primer is a must for a smoother, more workable surface.
The purpose of the primer is to prevent your contour from fading or streaking. It smooths things out by filling in those fine lines and pores. How to select your best primer? If your skin is oily, go with a mattifying, oil-controlling, pore-minimizing formula. Press, don't rub the product into your skin. For dry skin or combination skin, you may want to go with a more hydrating formula. POREfessional by Benefit, for example, can minimize pores to provide an airbrushed look while nourishing the skin and keeping it moist. Dull skin tones may benefit from illuminating or brightening formulas, like NYX Honey Dew Me Up Primer, which is also great for combination skin.
Choose your preferred contouring tools
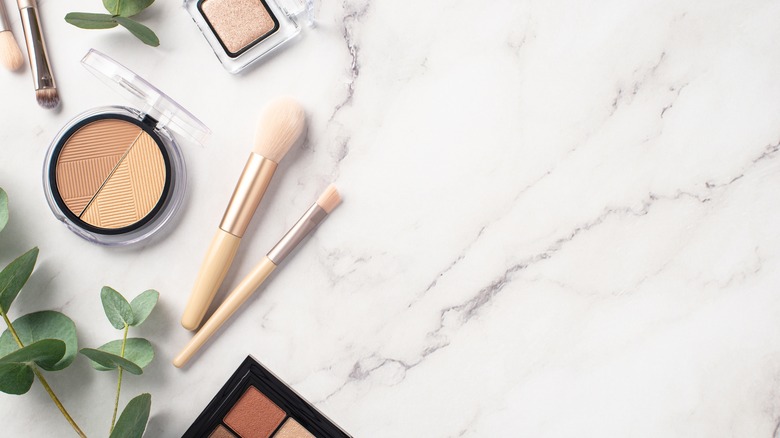
For nose contouring, you need just two items — a contour powder (or a foundation that is two shades darker than your skin) and a highlight powder (or a foundation that is two shades lighter). YouTube make-up tutor Nina Ubhi says you don't need a huge contrast. For a more natural look, Ubhi recommends applying a contour that is similar to your natural coloring. As you keep applying it, it will naturally get darker and provide the shadowing effect you desire.
When it comes to application, there are a variety of options. For applying the contour shadow, you can opt for two types of small brushes (a small, flat angled brush for the contour, and a fluffy one for blending) or if you get an all-in-one brush, designed specifically for contouring with both features.
If you're looking for a quicker or cheaper option, you don't necessarily have to purchase any special or designer brushes, according to Ubhi — you can simply use the tip of an eyeshadow brush to create your contour lines. And, if you are a fan of the makeup sponge, contour with the small flat, angled brush (or the tip of your eyeshadow brush) first, and then use the sponge to blend. A soft, small dome-tipped eyeshadow brush can be effective for applying your highlight or you can use your pinky tip. Using clean finger may also work well because the warmth from your body helps set in the makeup.
Select the right tone for your powder or cream
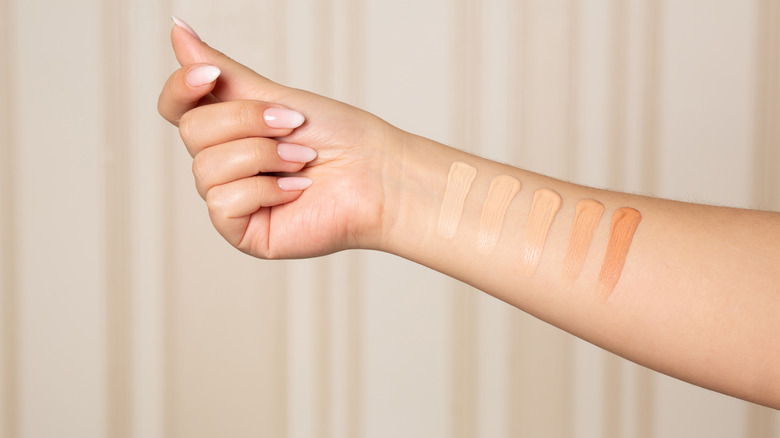
Nose contouring can give you a more sculpted appearance while still nailing the "no-makeup" look. For the best results, you'll want to match your skin's undertones. It's as simple as looking at the veins in your wrists. If they have a more greenish tint, you'll want to reach for warmer tones, such as yellow, gold, peach, or bronze. If they are blue-ish/purple, go with cooler tones, such as cool browns or grays. A cool-toned highlighter will have a silvery or pearly white finish, rather than pale yellow or golden tint. If your veins are somewhere in between, you'll be best suited with a neutral-toned contour, although you can also go more warm or cool.
Whether you choose a cream or powder is up to you. According to Herzindagi.com, a cream may be best for beginners because it's easier to apply and blend seamlessly. It will provide depth of color and a longer-lasting look. It is best suited for those with normal to combination skin. If your skin is oily, a powder may be best as it will help absorb excess oils for a more mattifying look.
Line it to define, then blend
If you are looking for the best place to start, just follow your nose (and we mean that literally). Locate the natural bridge of your nose and aim to contour just outside the edges of its bony structure. If you're using a powder, apply your contour with light brush strokes. To stay precise, use the long edge of your brush and a subtle movement with your fingers to guide the powder up and down the sides of your nose bridge. Intensify the color as desired, but do so gradually, says Ubhi. The more you layer on the color, the darker it will be.
To apply your cream, follow the same guidelines but lightly use a clean finger to apply. While the width is based on your nose shape, there can be some wiggle room. To narrow a wide bridge, keep your lines more pinched (closer to the center); for a widening effect, go slightly further away. Though, it's generally a good idea to not go too extreme.
For blending your contour, use a soft, fluffy brush or a makeup sponge. Tap it into the skin using the small end of a clean, damp sponge or use a brush and tap with small circular motions to blend.
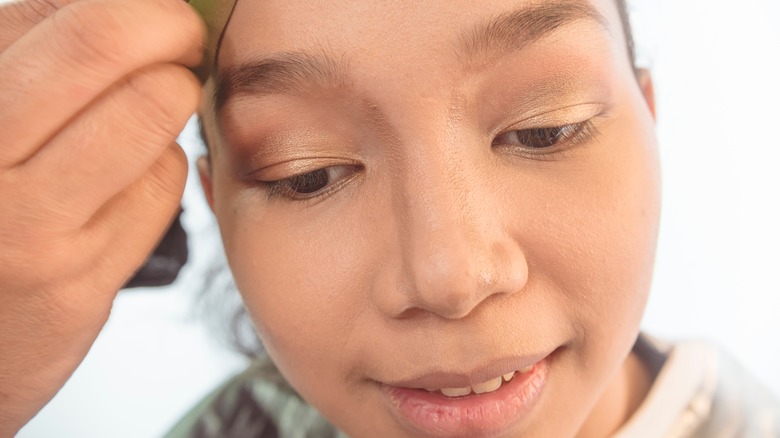
Add your highlighter
The purpose of highlighting is to accentuate the areas you want to be more prominent. It will also help to brighten those areas that naturally reflect light (i.e., high cheekbones). Rather than a frosted look, it should provide a subtle shine. Hence, match its warmth or coolness to your natural undertones and go two shades lighter than your base.
Highlighting the nose can be as simple as putting a swipe of light, reflective makeup down the bridge of your nose. But you may also want to consider that area between your eyebrows. Draw an upside-down triangle between the eyebrows and then connect it with the bridge line you've highlighted. This will draw more attention to the high points of the nose and is a great way to lengthen a short, squat nose. It may also serve to add a more reflective, brightening effect.
To soften the look, "warm your fingers and lightly press in the color," YSL Beauty director Paul Garcia told Makeup.com. You can finish the look by adding a hint of translucent powder to set the makeup. If you're planning a night out on the town, consider polishing the look with a shimmering highlighter.
Blend and set, but don't overblend

While some opt for tools specifically designed for blending (i.e., a facial sponge or soft, fluffy brush), others prefer using their fingers. The benefit of blending with your fingers is that the natural warmth from your body provides for a more seamless application. It essentially infuses the makeup into your skin for a more natural appeal.
If you are going to use a sponge, pat the area lightly to blend the shadow lines. Don't sweep with the sponge or it will undo all your careful work. On the other hand, swiping the area with a brush in a circular fashion can be effective for a more airbrushed look. Keep the contouring shadow noticeable but subtle, says YouTuber Brittany of BrittanyBearMakeup. Blending is necessary to avoid a cartoonish or harsh look, but you don't want to go overboard, because it can flatten the look you worked so diligently to achieve. Lastly, don't forget to use a setting spray. This will lock in the look so it will last for hours.
Use simple modifications to suit your needs
The key to contouring is understanding that the darker shade will help shadow an area (make it less prominent), while the highlighter helps to bring an area front and center — brighter and more noticeable. Thus, there are some modifications you can implement to suit your personal needs without undergoing surgery.
To shrink a bulbous tip, use the contour shadow to create a V under the tip, suggests Ubhi. To add more definition, the makeup artist suggests adding the contour to the creases between the tip of your nose and your nostrils. For elevating a flat nose, start by creating a thin U-shape at the tip of the nose. Then blend in upward strokes. You can add a dot of highlighter to the center of the horseshoe for more prominence. Then, instead of creating two lines of shadow along the sides of the bridge, draw soft curves against the furthest edges of your nose.
A bumpy nose can be "chiseled down" by adding a small amount of contour cream to the tip of the bump to help it visually recede rather than protruding. And, for creating the illusion of an upturned nose (which can help make your nose look smaller), draw a line of contour just under the tip and blend upwards, adding the highlighter to the very tip. You can also draw a line just above the bulbous portion (and blend) to create a button nose.
Frame it to finalize your look

So, you've contoured your nose for a subtle slimming, a lift, or general reshaping. For example, you've taken some emphasis away from a wide bridge, a long nose, or a bulbous tip. But you don't have to end your efforts here. The right hairstyle can help to further enhance the parts you want to be more visible while distracting from the areas you want to hide. And let's face it, more often than not, you may be contouring to reduce the width, height, or length of your nose — to make it appear smaller and more delicate (not the other way around).
There are a variety of hairstyles — from long to short — that can help slim or minimize bold features. A layered bob can draw attention away from a bulbous tip or a wide bridged nose. Additionally, if you want your nose to look smaller, you can go with long layers and side-swept bangs. You can also go with traditional bangs so long as you keep them long and heavy — this will draw attention away from a wide or protruding bridge and can give the appearance of a more delicate nose. If you don't have bangs, teasing the hair up with a messy bun or a high ponytail will also draw attention up and away from the nose.