How To Do The 'Bubble Braids' Hack And Add Volume To Your Hair
If there's one reason that we're thankful to TikTok, it's for teaching us about a plethora of hacks designed to help us achieve effortlessly voluminous hair without the damage. We've seen the ponytail trick, which involves pulling your tresses under a hair tie to create an Ariana Grande level updo, the hair clip pinching technique, which consists of leaving your front layers clipped upward as long as possible, and now, we have bubble waves.
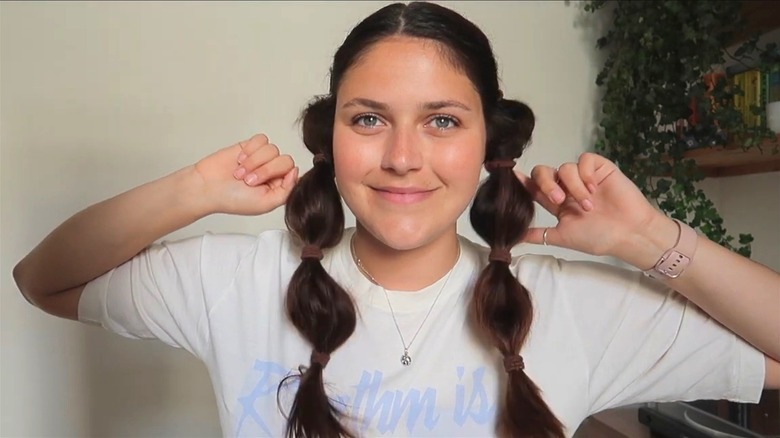
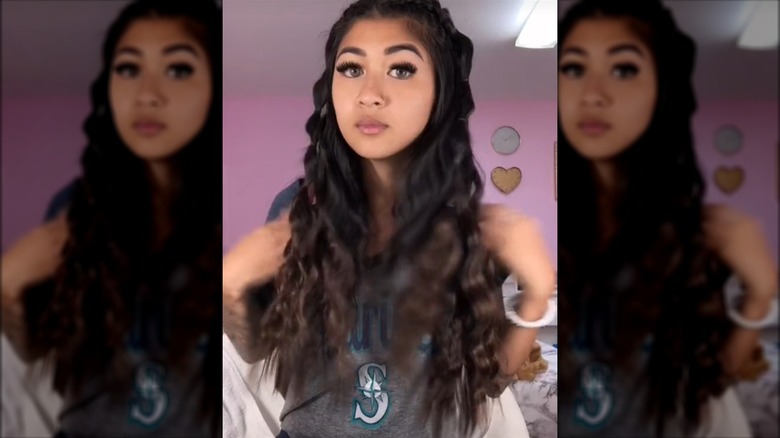
The viral trend has been attributed to influencer Olivia Thompson, whose 2020 Instagram tutorial has earned over 40,000 views. Similar to a standard braided curls hack, it involves securing slightly damp sections of your hair with elastics. The main difference, however, is that instead of the hair getting wrapped into a braid, it's pulled into flat, rounded 'bubble' sections, and left to dry. Once the elastics are removed, as shown in Thompson's video, you should be left with just the slightest wave, giving your down hairstyle a subtle, but noticeable volume boost. And the best part is, you don't need any specialty tools to get started — just a brush, a minimum of 10 elastics, and your usual styling products.
Prep the hair by combing out two sections
Although the bubble braids hack can work on already dry or even day-old hair, attempting it with freshly clean, damp hair is ideal as it allows you to potentially wear the look for longer. It also removes an extra step as the braids are supposed to do the styling work for you, rather than a curling iron or heat styler.
That said, to minimize the chances of breakage, it's still best to avoid attempting this hack on soaking wet hair.Instead, start with hair that is slightly damp, but workable. From there, similar to other heatless curl hacks, you're going to prep your hair for the braid process. The simplest way to go about this is by dividing your hair into two sections on either side of your head, making sure your part is where you'd like it to be for your finished look. A sectioning comb with a thin, metal end can help you achieve an even split here. Then, using a brush or comb, brush through your tresses until they're totally smooth. If your hair is prone to frizz, add an anti-frizz spray, curl cream, or serum.
Next, create several ponytails around your head
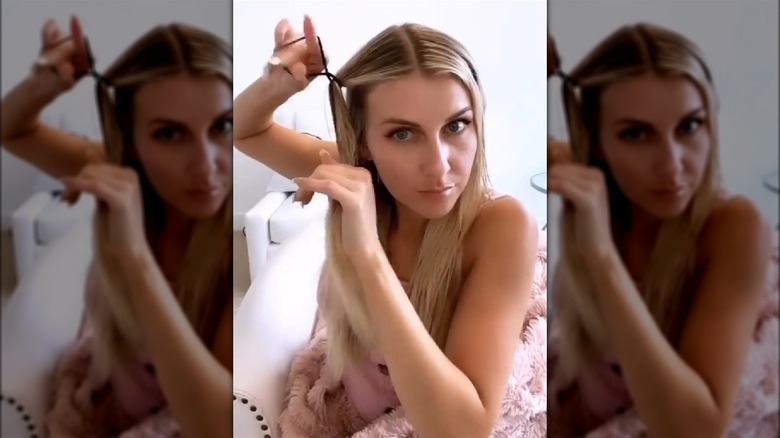
Now that you have your two sections, you're going to then separate those two portions of hair even further. Starting toward the top of your head on one side, take a portion of one of your hair into a mini pigtail and secure with an elastic.
We suggest getting your hands on metal free ties for this to minimize the chances of damage. Next, add a second elastic to that same section of hair one-to-two inches below the top of the pigtail. Be careful not to twist the hair tie too tight. Along with potentially creating kinkier waves than intended, as one Allure writer who tried the hack pointed out, this can also potentially cause some headaches when wearing the braid. Each tie should be secure enough to hold the sections in place, but not so rigid that you can barely move a finger under them.
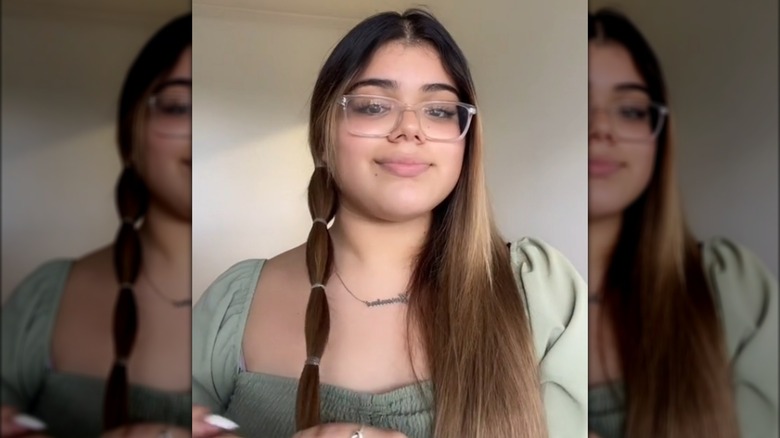
Continue adding elastics about an inch apart from each other until the entire pigtail is covered in them from top to bottom. As you get further down the tail and the sections become thinner, you may want to vary the size of your hair tie to ensure it doesn't fall out.
Build your bubbles
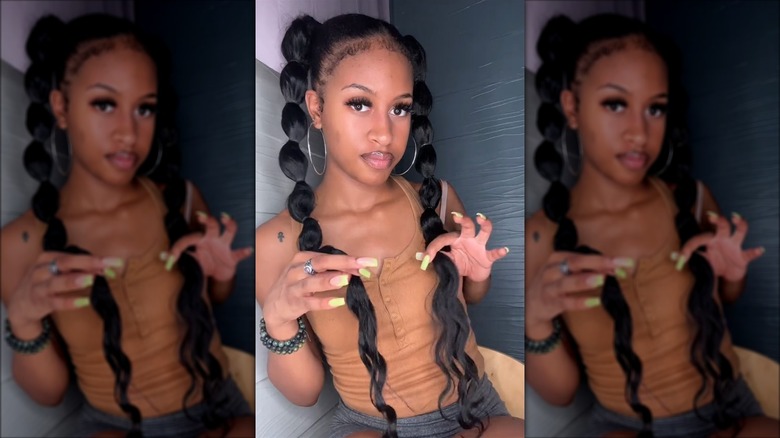
Once your pigtail is covered in hair ties, it's time to create the 'bubble' effect. Using two hands, gently loosen each portion of hair between the elastics without completely pulling them out from the ponytail. You may now be able to see why this technique is called bubble braids, because each section should start to look like an oval-shaped balloon. Repeat this process until you've manipulated every section of hair into a bubble shape. Keep in mind that it's totally fine if your bubbles get smaller the closer you get to your ends, as you'll have less hair to work with there. Now all that's left to do is wait.
How long you leave your bubble braids in place will depend on length and texture of your hair. If you're working with dry hair, or if your hair is notorious for not holding a style, you'll want to try to leave them in place for as long as possible; even overnight for best results. However, if you're working on damp tresses, you should be able to remove the elastics once you detect your hair is totally air dry. This is when you're going to want to avoid the temptation to blow dry. This could create unnecessary frizz and leave your hair with wet patches as it won't be able to distribute heat the same way as when your hair is down.
Gently remove the hair ties
After your hair is finished air drying, it's time for the fun part. Taking out the bubble braids! Starting from the bottom of your strands, gently tug at your hair and remove it from each hair tie. Be careful not to pull too hard, as that can deflate the finished curl. The end result should look like very loose, beachy waves that have been brushed out. If you find your hair is still mostly straight, you may want to put the elastic back and leave it in a little longer.
Finish with your favorite styling products
Now for the finishing touches! After the hair ties are removed, run your fingers or a wide tooth comb through your strands to gently loosen up the look to your liking. If your hair's looking a bit on the frizzy side, now's a good time to add a smoothing serum or your other favorite product for taming frizz or flyaways. If your locks struggle to hold a wave, then add some hairspray or texturizer to give it a volume boost and some extra staying powder. Still want more volume? Adding volume powder at the roots can also really bring out the va-va voom. You can also take a teasing comb to the roots to add more oomph at the crown.
If you notice here that any of your hair looks like it has a kink rather than a cute S-wave, hack originator Olivia Thompson recommends spritzing it with a little water to loosen it up a little. And, with that, voila! You're all done and ready to face the day with your hot new waves.
